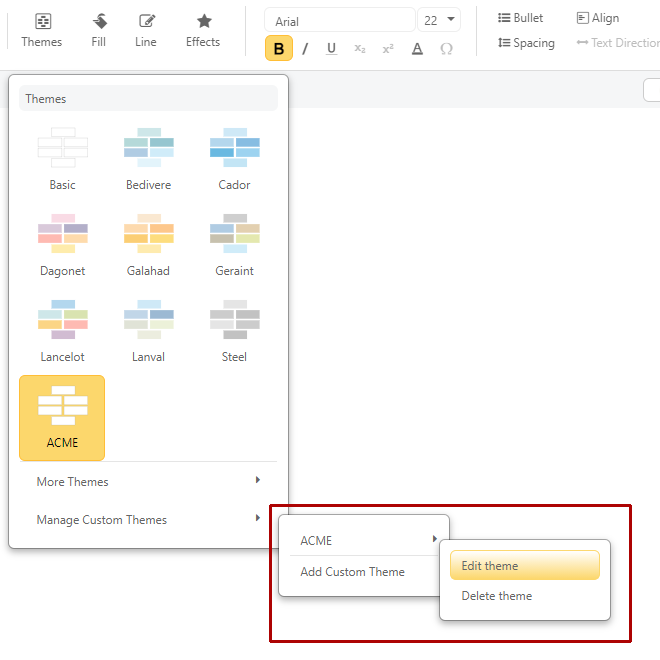
Whether you want to standardize on your corporate colors or want a common look for all visuals across your team, you can set up a custom theme everyone on your license has access to (this feature only works for site license customers).
To create a new custom theme, click on Themes under the Home tab, select Manage Custom Themes, and choose Add Custom Theme.

A theme is made up of 6 styles that define 6 different fill colors, border colors, border thicknesses, and border styles. Your custom theme is prefilled using a placeholder theme you can modify.
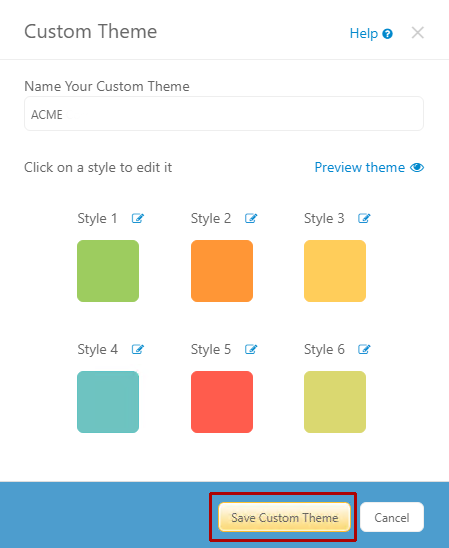
You can name your new custom theme in the first field in the dialog. Please note that your name can't have any spaces in it.

Next, you can modify each style by clicking on the theme square or blue pencil icon next to each style name.
You can modify the fill color, border color, border thickness, and border style.
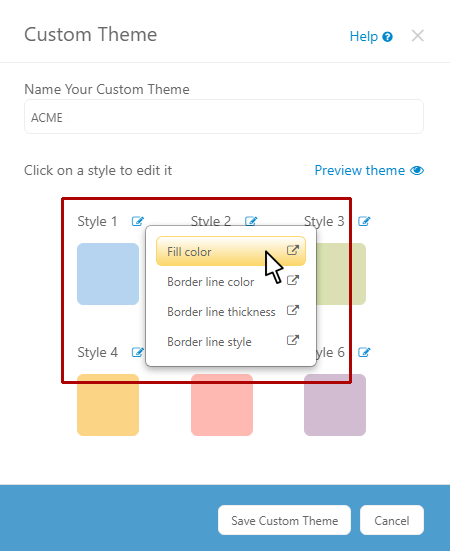
If you select Fill color, you'll be presented with a color picker.
You can pick the hue using the vertical bar on the right and pick the shade by moving the black dot in the square to the left using the mouse.
You can also just pick a color by entering an RGB or hex value in the field at the bottom of the dialog. Click OK to return to the Custom Theme dialog.

Customize the border color in a similar way by first clicking on Border line color.
Set the border thickness using the options under the Border line thickness menu.
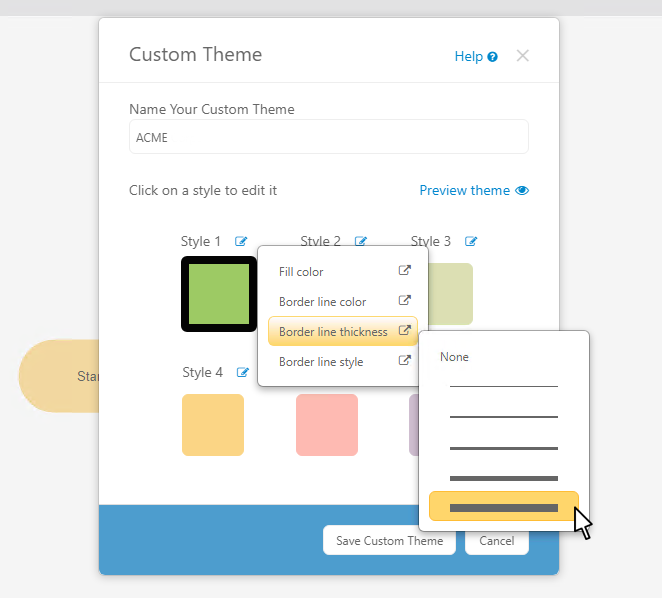
The square for each style on the Custom Theme dialog will show you both your color and style choices as you update them.
Repeat this process for all 6 styles in your custom theme.
You can preview your entire theme using the Preview theme link.
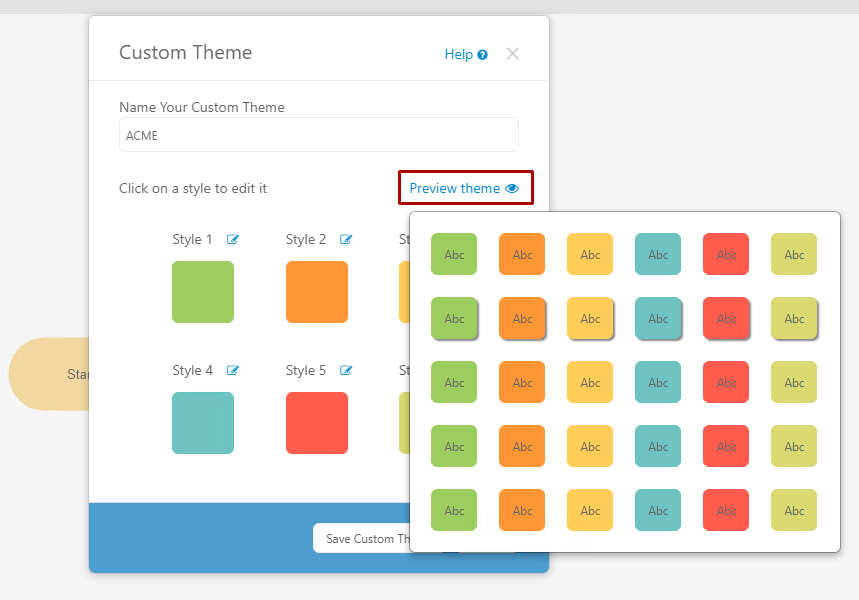
Once you're happy with your style choices, click Save Custom Theme to add your custom theme to your license.
Now anyone on your license will be able to apply your custom theme by selecting it from the Theme menu.
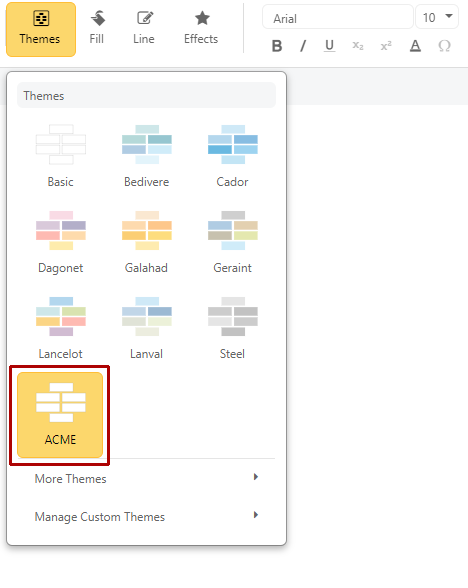
You can also edit a custom theme by selecting its name under Manage Custom Themes and clicking on Edit theme. Choosing Delete theme will remove that custom theme for everyone on that license.
